Introducing Training ML models with AzureML
Objectives
In the following Excercise you will learn:
- Train a model using the Azure ML Designer
- Traing a model using Azure ML AutoML
- Train a model using the Azure ML Python SDK
The AzureML Designer
Prerequisites
To run through below instructions, you need an Azure subscription, an AzureML workspace and an AzureML compute target (i.e. cpu-cluster). See instructions on how to create a workspace here and create an AzureML compute target here.
Create an AzureML experiment using Designer
-
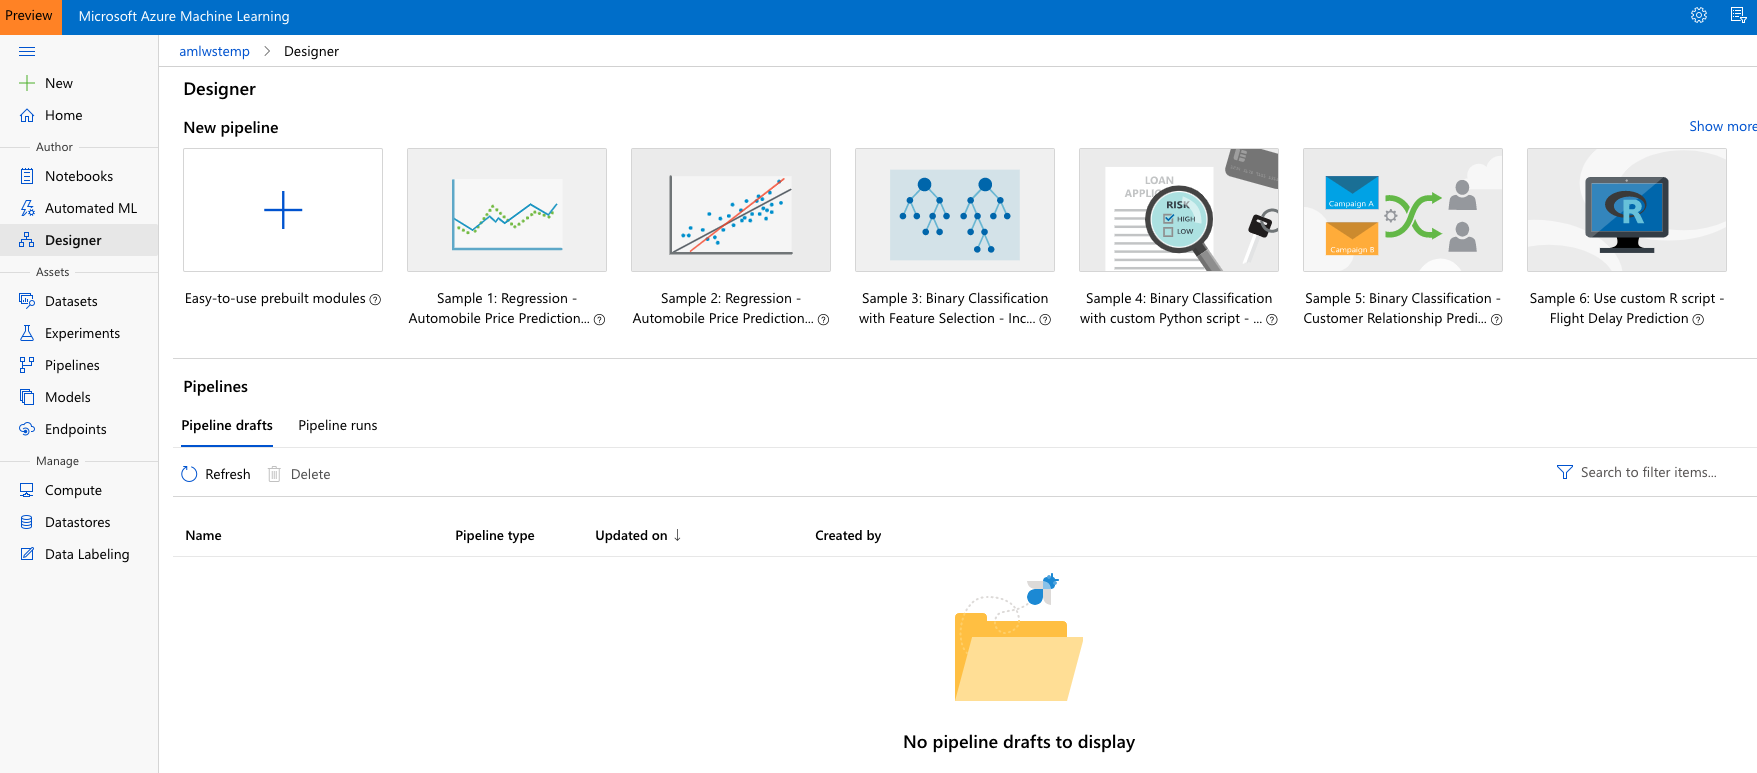
In the AzureML studio, navigate to the Designer tab and click on it
-
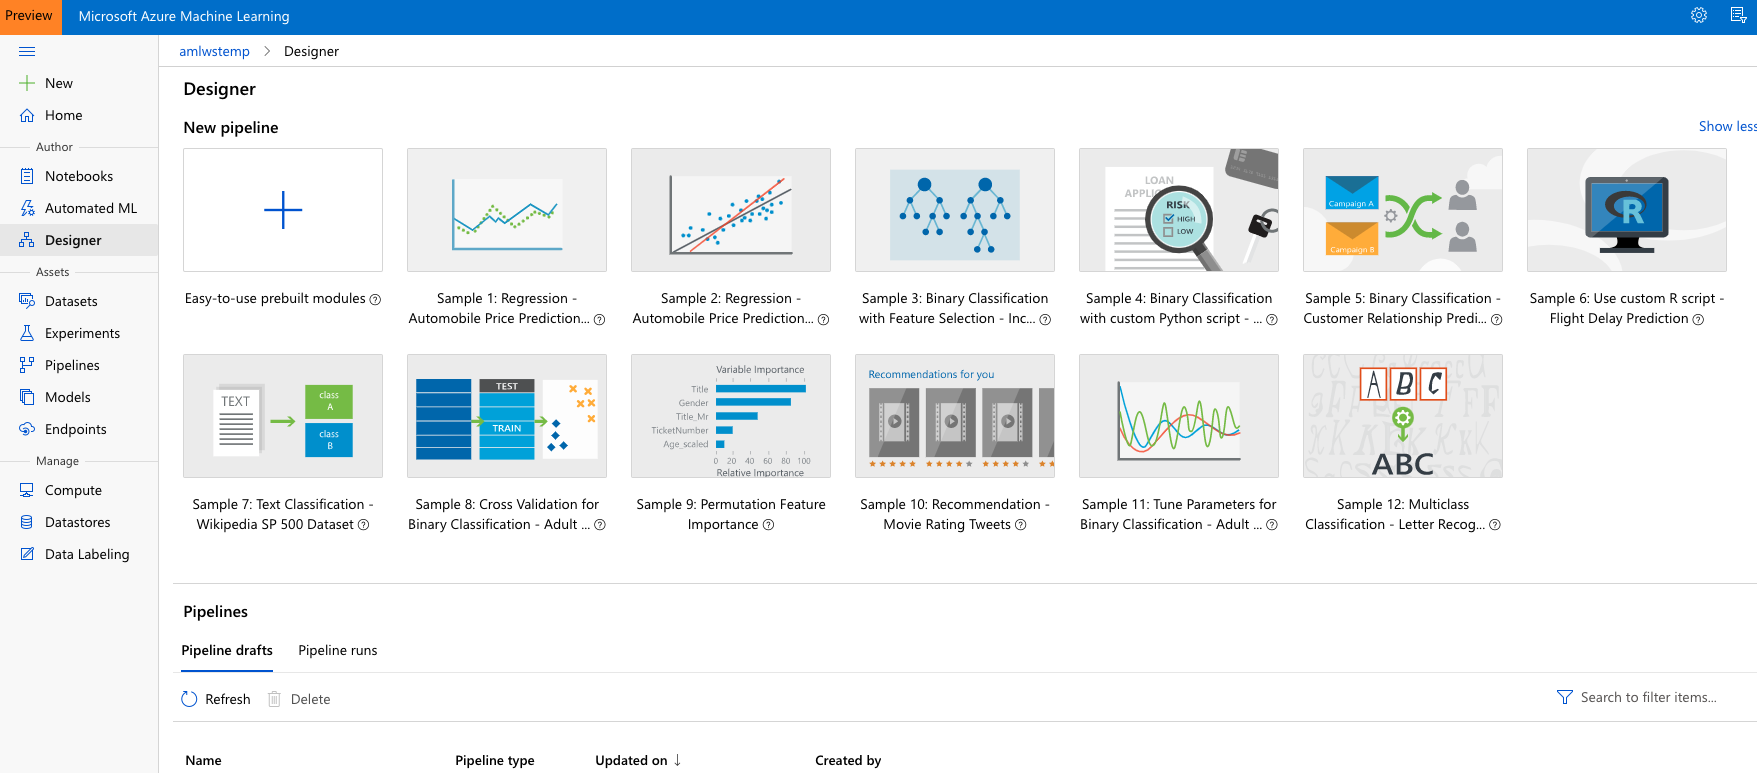
Create a new experiment buy opening Sample 3: Binary Classification with Feature Selection - Income Prediction from the list of available examples
-
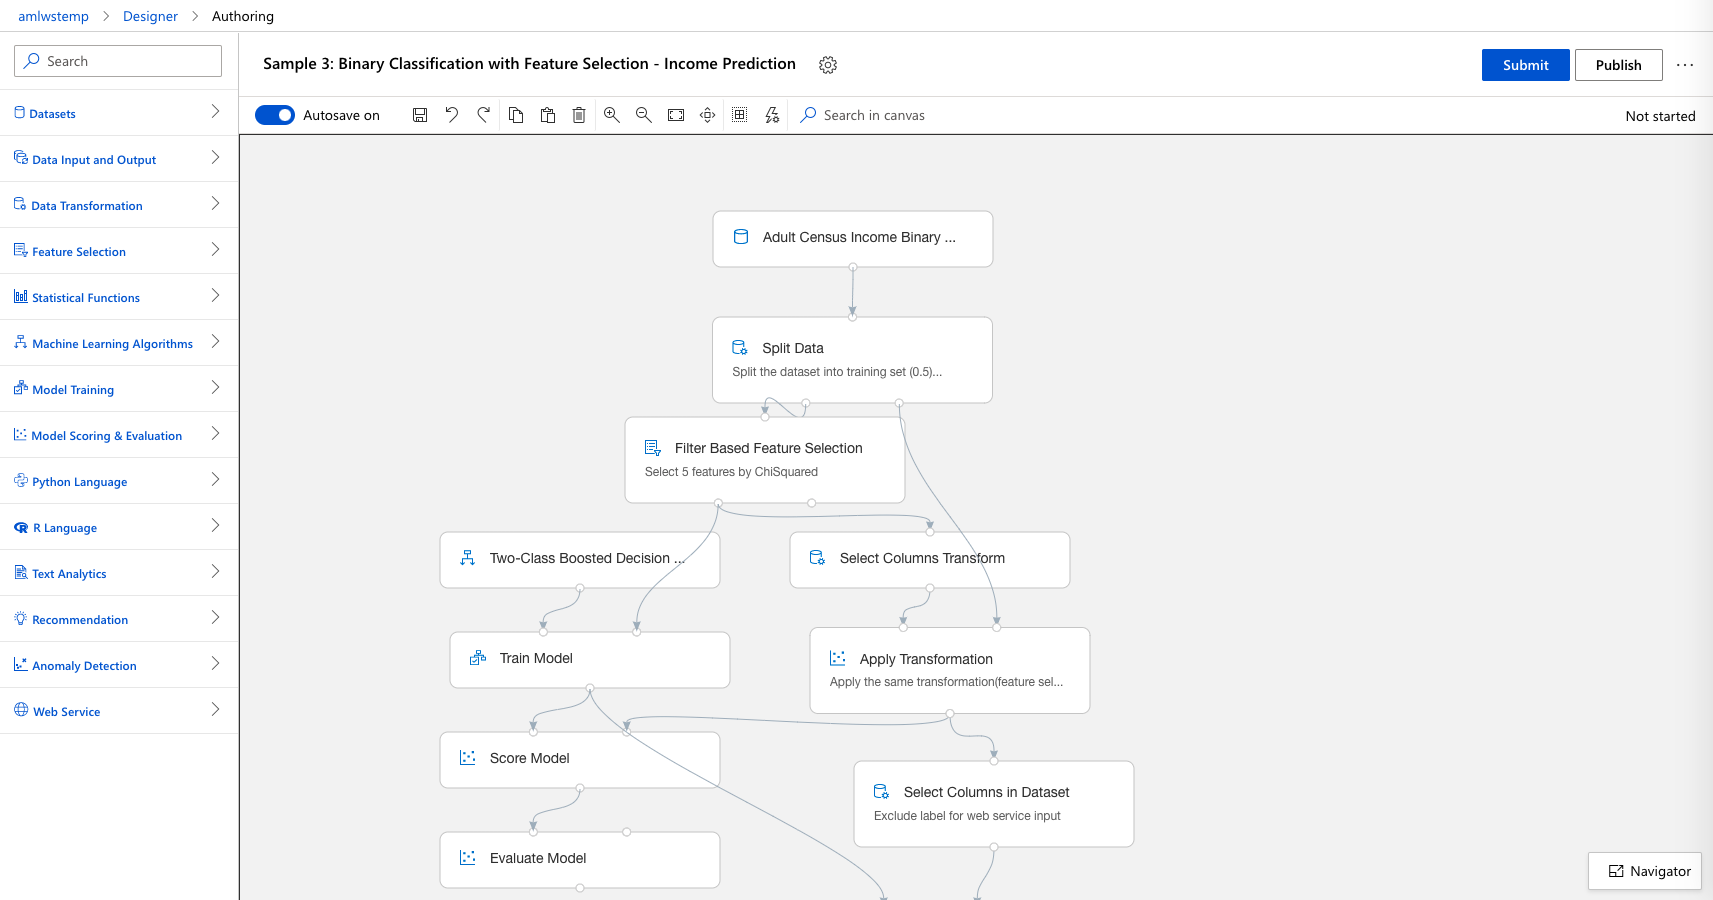
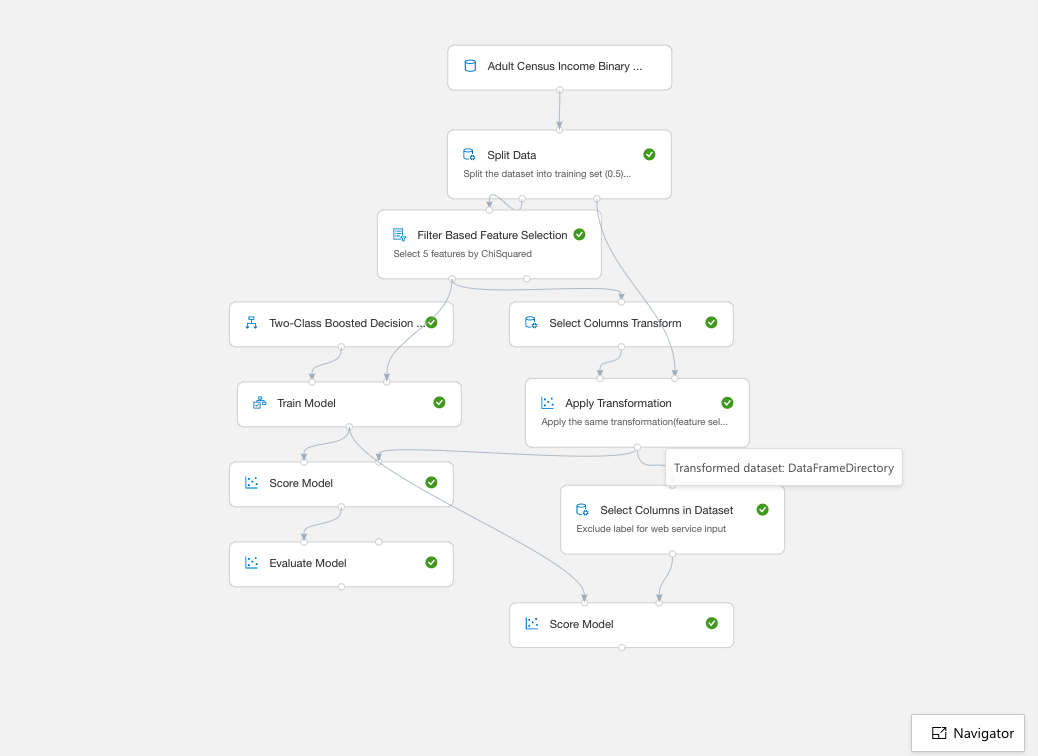
The graph for the sample experiment will open. You can inspect the properties of each of the steps, but you cannot see any outputs until you run the experiment.
-
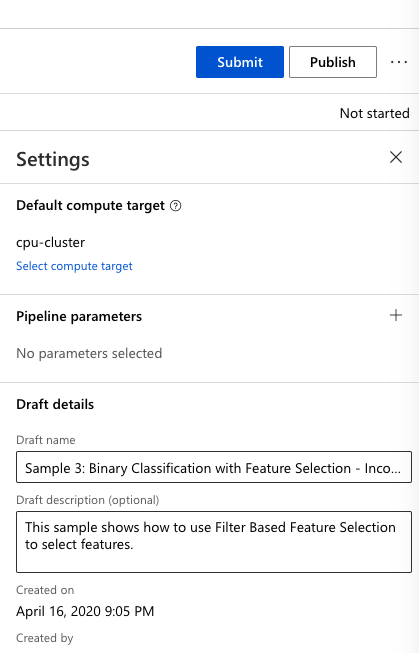
In the setting tab, click on ‘select compute target’ and select the compute cluster we have created in the previous steps, cpu-cluster
-
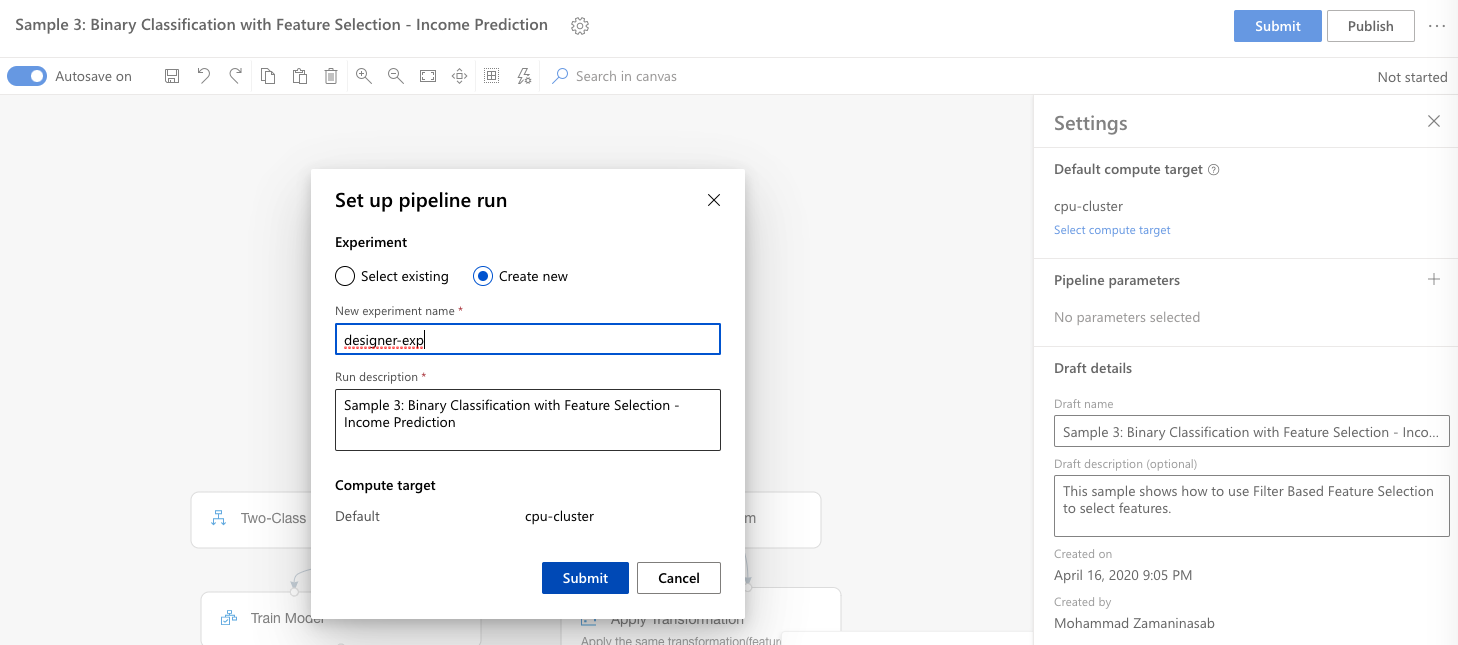
Click ‘submit’ button at the top-right. Create a new experiment (e.g. designer-exp) and press ‘Submit’
-
Wait until all steps are done ( a green tick-mark appears on the corner of each step)
-
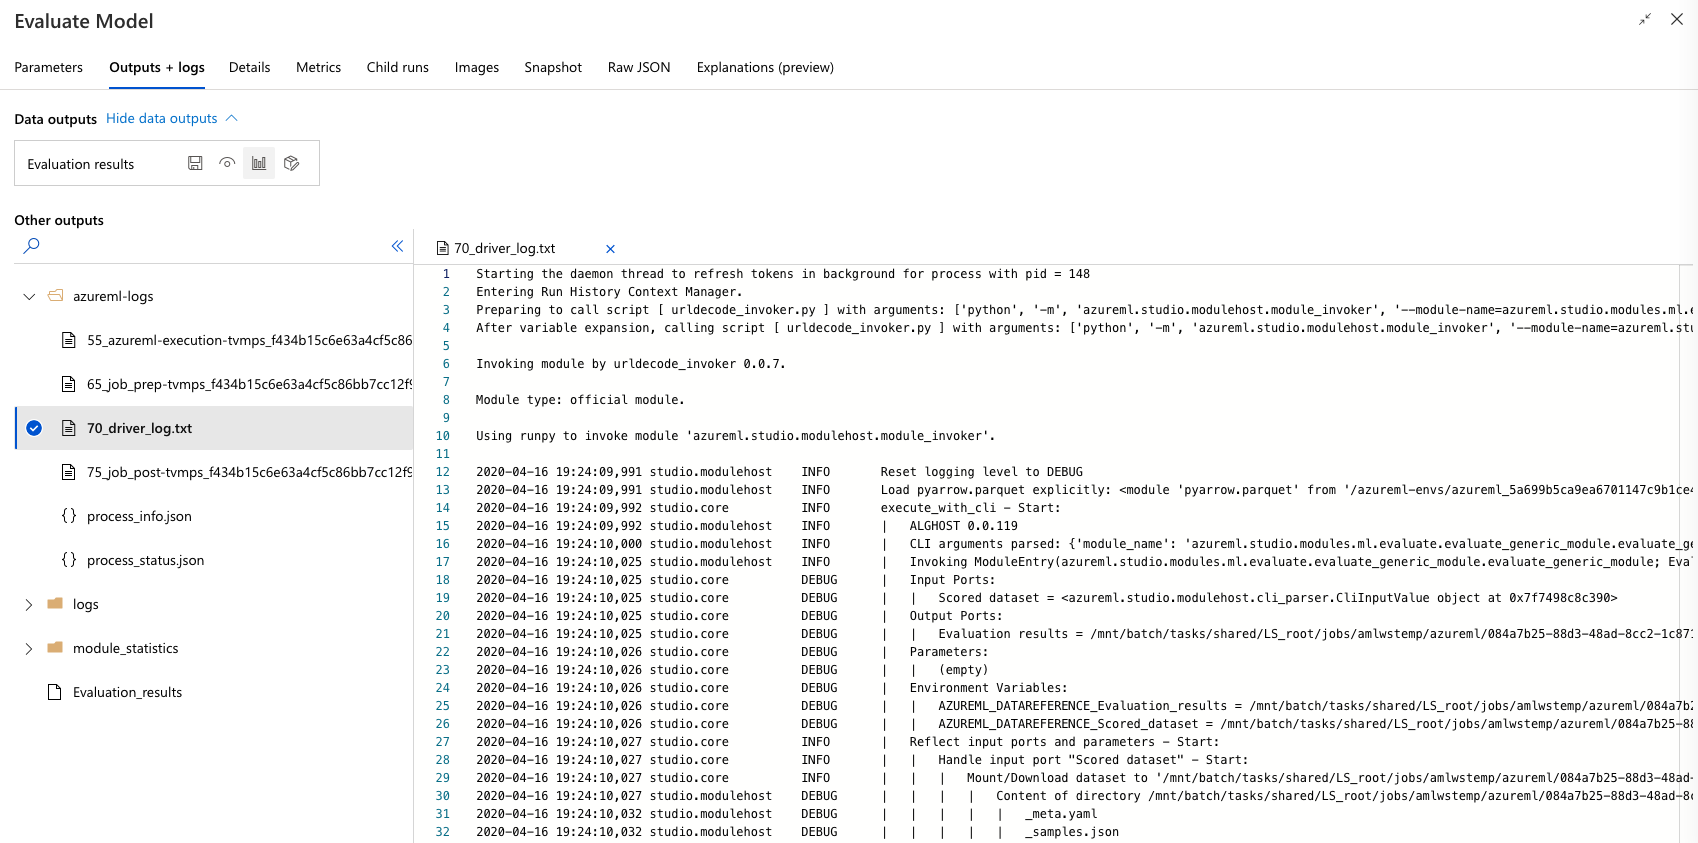
Once you ran the experiment, you can inspect the outputs of the individual steps – check out the output of the different steps, in particular the “Evaluate Model” step. Click on the step, which will take you to the outputs:
-
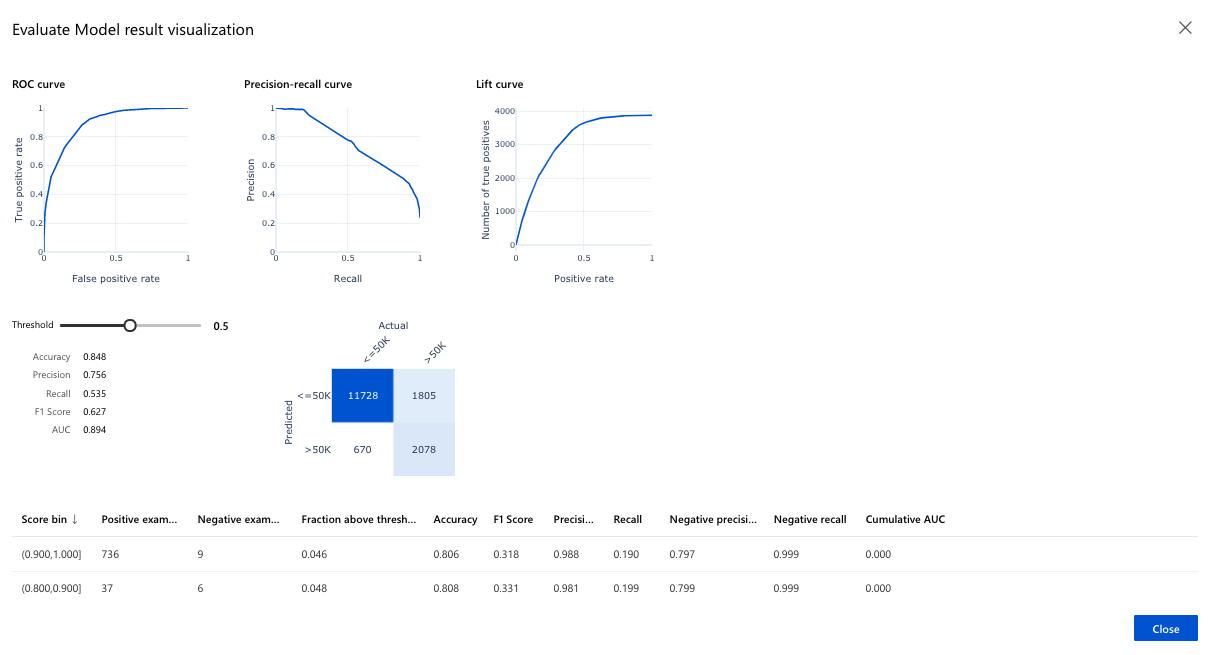
Click on the “visualize” button in the “Evaluation results’ tab which will show a graphical representation for the binary classification evaluation and the predicted values for the test data:
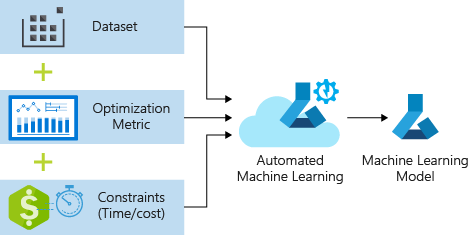
Automated Machine Learning
Prerequisites
To run through below instructions, you need an Azure subscription, an AzureML workspace, a registered data set (i.e. german-credit) and an AzureML compute target (i.e. cpu-cluster). See instructions on how to create a workspace here, register an AzureML dataset and create an AzureML compute target here.
Create your first automated ML experiment
Automated machine learning (automated ML) builds high quality machine learning models for you by automating model and hyperparameter selection. Bring a labelled dataset that you want to build a model for, automated ML will give you a high quality machine learning model that you can use for predictions.
If you are new to Data Science, automated ML will help you get jumpstarted by simplifying machine learning model building. It abstracts you from needing to perform model selection, hyperparameter selection and in one step creates a high quality trained model for you to use.
If you are an experienced data scientist, automated ML will help increase your productivity by intelligently performing the model and hyperparameter selection for your training and generates high quality models much quicker than manually specifying several combinations of the parameters and running training jobs. Automated ML provides visibility and access to all the training jobs and the performance characteristics of the models to help you further tune the pipeline if you desire.
Using Automated Machine Learning
Follow the instructions in the documentation for a full overview of the user interface.
-
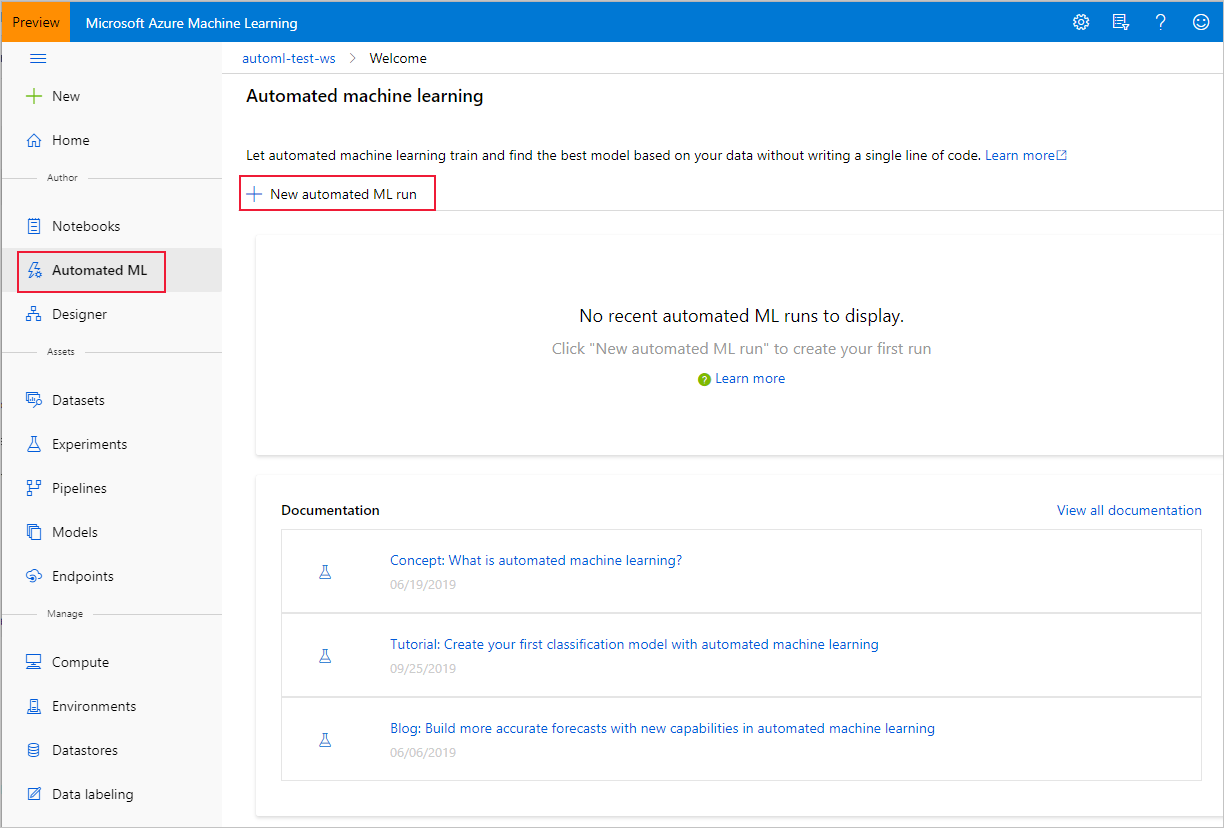
Navigate to the left pane of your workspace. Select Automated ML under the Author section.
 .
. -
Enter your experiment name, then select a compute from the list of your existing computes or create a new compute.
-
Select a the German credit dataset (german-credit) that you have created before.
-
Preview data and keep all columns selected for training.
-
Select the training job type: Classification
-
Select target column: Risk
-
Open “Advanced settings”, set the ‘Primary metric’ to ‘AUC_weighted’ and training job time to 15 minutes (for the workshop).
-
Hit “Start” and wait for the training job to start. You’ll be able to see the models which are created during the run, click on any of the models to open the detailed view of that model, where you can analyze the graphs and metrics.
-
Once the run is completed, click deploy the best model to create a deployed endpoint from the model.
To learn more about automated ML, see documentation here.
Optional Tasks:
-
Once your model has been deployed, follow these instructions to consume the model from Power BI.
-
Try the sample notebooks here.
Training ML models using the SDK
Objectives
In the following exercise you will learn to submit training runs using the Azure Machine Learning SDK:
- Train locally on the notebook
- Train remotely on the compute cluster
- User Hyperparameter Tuning to optimize your model
- Use AutoML in the AML SDK
In this module we train a machine learning model using the AzureML SDK. We will work with the follwing Jupyter Notebooks:
-
Training on local compute: Python SDK - local_train_binary_classifier.ipynb
-
Training on a remote compute: Python SDK - train_remote_binaryclassification.ipynb / R SDK
-
Interpret your model using InterpretML: Python SDK - explain-model-on-amlcompute.ipynb
-
Training AutoML using the SDK: Python SDK - explain-model-on-amlcompute.ipynb
For more details and examples on model training using SDK & hyper-parameter optimization see here and here.
Prerequisits
To run through below instructions, you need an Azure subscription, an AzureML workspace, a registered data set (i.e. german-credit) and an AzureML compute target (i.e. cpu-cluster). See instructions on how to create a workspace here, register an AzureML dataset and create an AzureML compute target here.
Clone the Git repository to your Compute Instance
For the following parts of the workshop, you are going to work on the notebook environment hosted on the Compute instance you just created. First, you need to clone this git repository onto the workspace.
Option 1 Using Jupyter(Lab)
1.1. To get started, first navigate to the Jupyter(Lab) instance running on the Compute instance by clicking on the Jupyter(Lab) link shown:
-
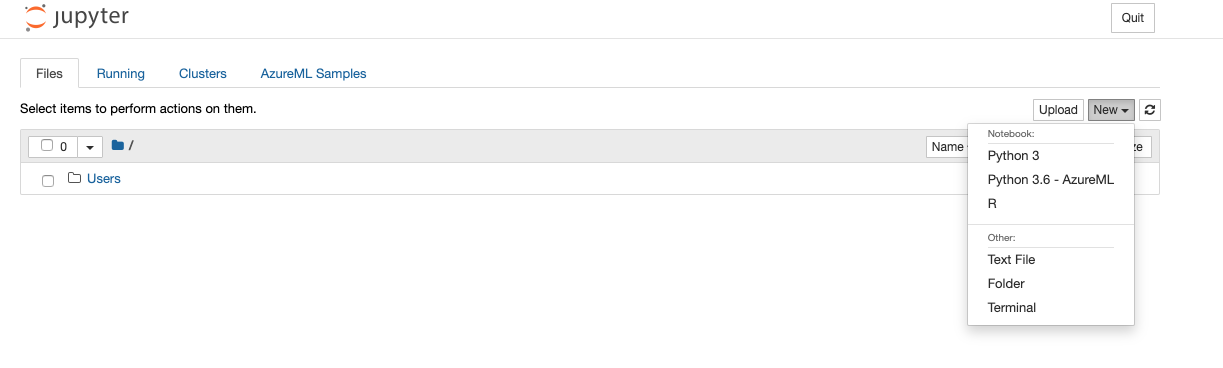
After going through authentication, you will see the Jupyter(Lab) frontend. As you authenticate, make sure to use the same user to log in as was used to create the Compute instance, or else your access will be denied. Next open an Terminal (either by File/New/Terminal, or by just clicking on Terminal from the ‘New’ drop-down menu)

-
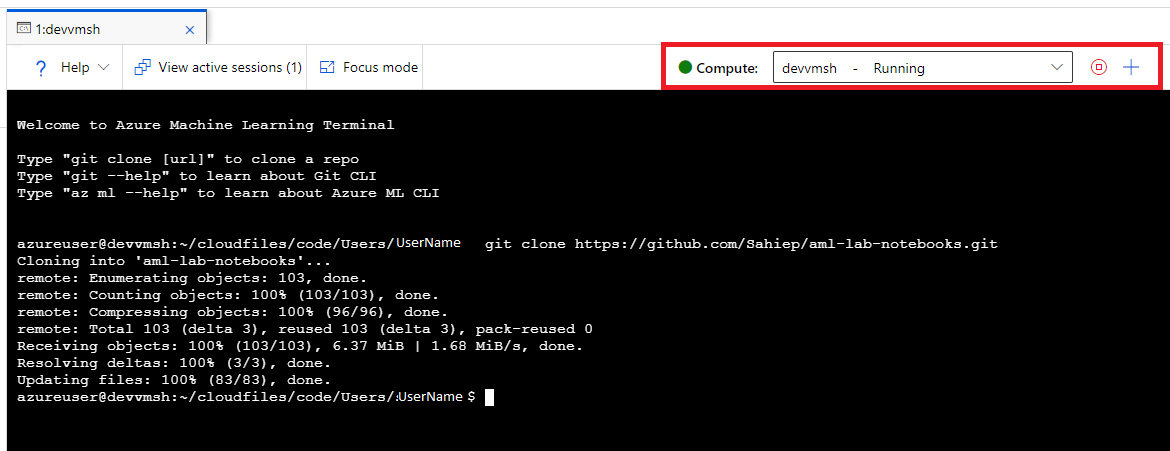
In the terminal window clone this repository by typing:
$ git clone https://github.com/Sahiep/aml-lab-notebooks.git
Option 2 Using AML Notebook Experience
-
To get started, first navigate to the Notebooks area in the AzureML Studio:

-
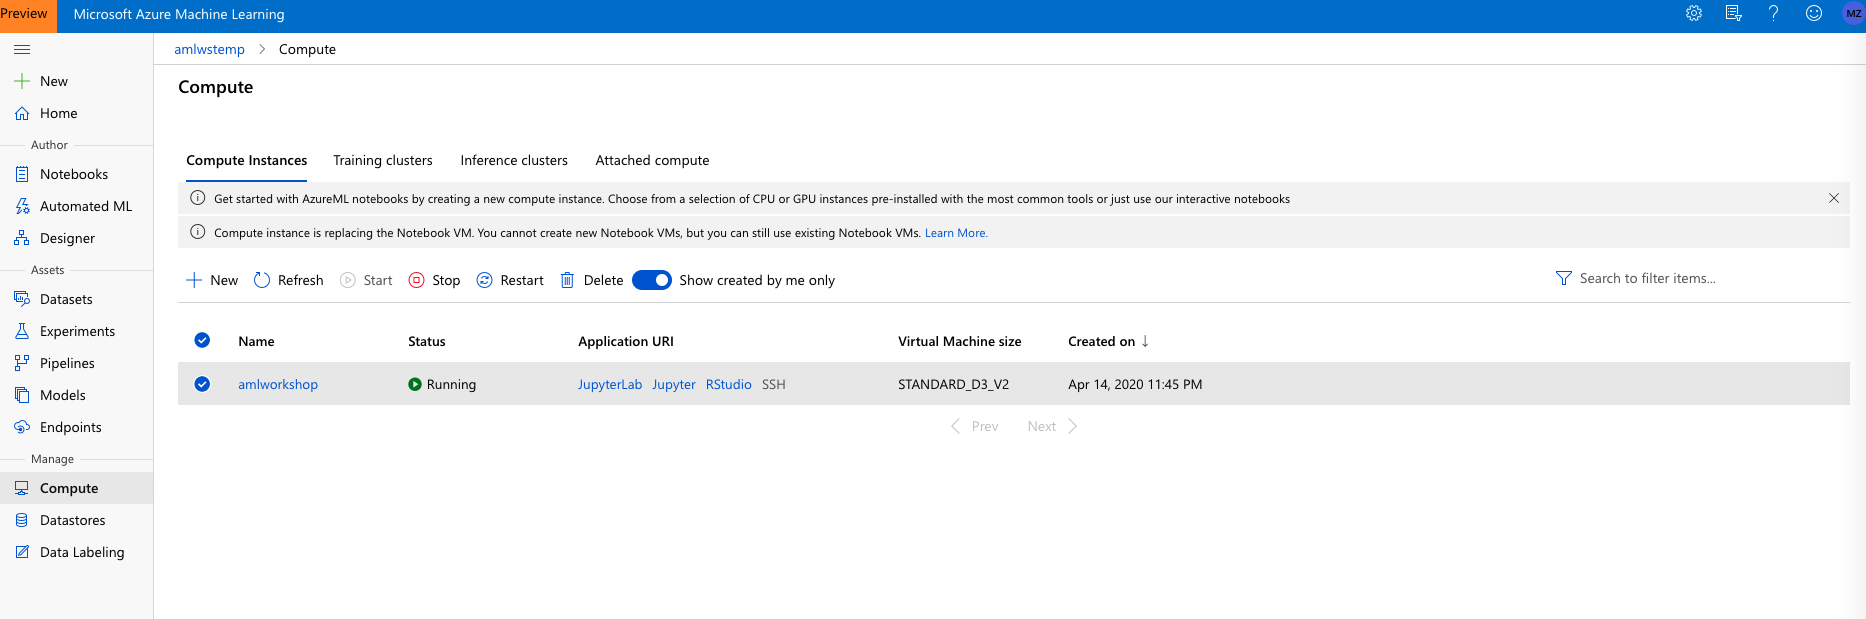
Open a new Terminal. Make sure your Compute Instances is selected and in the State “Running”.
-
In the terminal window clone this repository by typing:
$ git clone https://github.com/Sahiep/aml-lab-notebooks.git
What’s a script run configuration?
A ScriptRunConfig is used to configure the information necessary for submitting a training run as part of an experiment.
You submit your training experiment with a ScriptRunConfig object. This object includes the:
- source_directory: The source directory that contains your training script
- script: The training script to run
- compute_target: The compute target to run on
- environment: The environment to use when running the script
- and some additional configurable options (see the reference documentation for more information)
Exercise: Train ML model locally
In the following exercise you will:
- Upload datasets to AML datastore and register a dataset
- Create an experiment “local-train-german-credit” to run
- Submit and log the training run
- Wait for the run to complete
- Register the newly trained model
- Run the notebook to train locally Python SDK - local_train_binary_classifier.ipynb
- Check for your experiment run in the Azure ML Workspace
- Check your newly registered ML model
Exercise: Train ML model remotely + Hyperdrive
In the following exercise you will:
- Create an experiment to run
- Create an environment where the script will run
- Create a ScriptRunConfig, which specifies the compute target and environment
- Submit the run
- Wait for the run to complete
- Register the newly trained model
- Optional: Run Hyperdrive to optimize your model
- Run the notebook to train remotely Python SDK - train_remote_binaryclassification.ipynb
- Check for your experiment run in the Azure ML Workspace
- Check for your hyperdrive run in the Azure ML Workspace
- Check your newly registered ML model
Exercise: InterpretML (SDK)
In the following exercise you will:
- Create an experiment to run
- Create an ScriptRunConfig, which specifies the compute target and environment
- Submit the run
- Load model explanation
- View InterpretML results
- Run the notebook interpret your model using InterpretML: Python SDK - explain-model-on-amlcompute.ipynb
- Review the Notebook results
- Check for your experiment run in the Azure ML Workspace
See also here, for more details on model interpretation using InterpretML and here for more examples.
Exercise: Automated Machine Learning (SDK)
In this tutorial, you use automated machine learning in Azure Machine Learning to create a classification model to predict credit risk for German credit dataset. This process accepts training data and configuration settings, and automatically iterates through combinations of different feature normalization/standardization methods, models, and hyperparameter settings to arrive at the best model.
In the following exercise you will:
- Create an experiment to run
- Create an AutoMLConfig, which specifies the compute target and environment
- Submit the run
- Wait for the run to complete
- Test the best model
- Run the notebook to train with automl Python SDK - remote-autoaml-binayclassification.ipynb
- Check for your experiment run in the Azure ML Workspace
- Test your best fitted model
See also here, for another example of trainig a model using Azure Automated ML.